


Install manual
How to install Sidewalk Shield
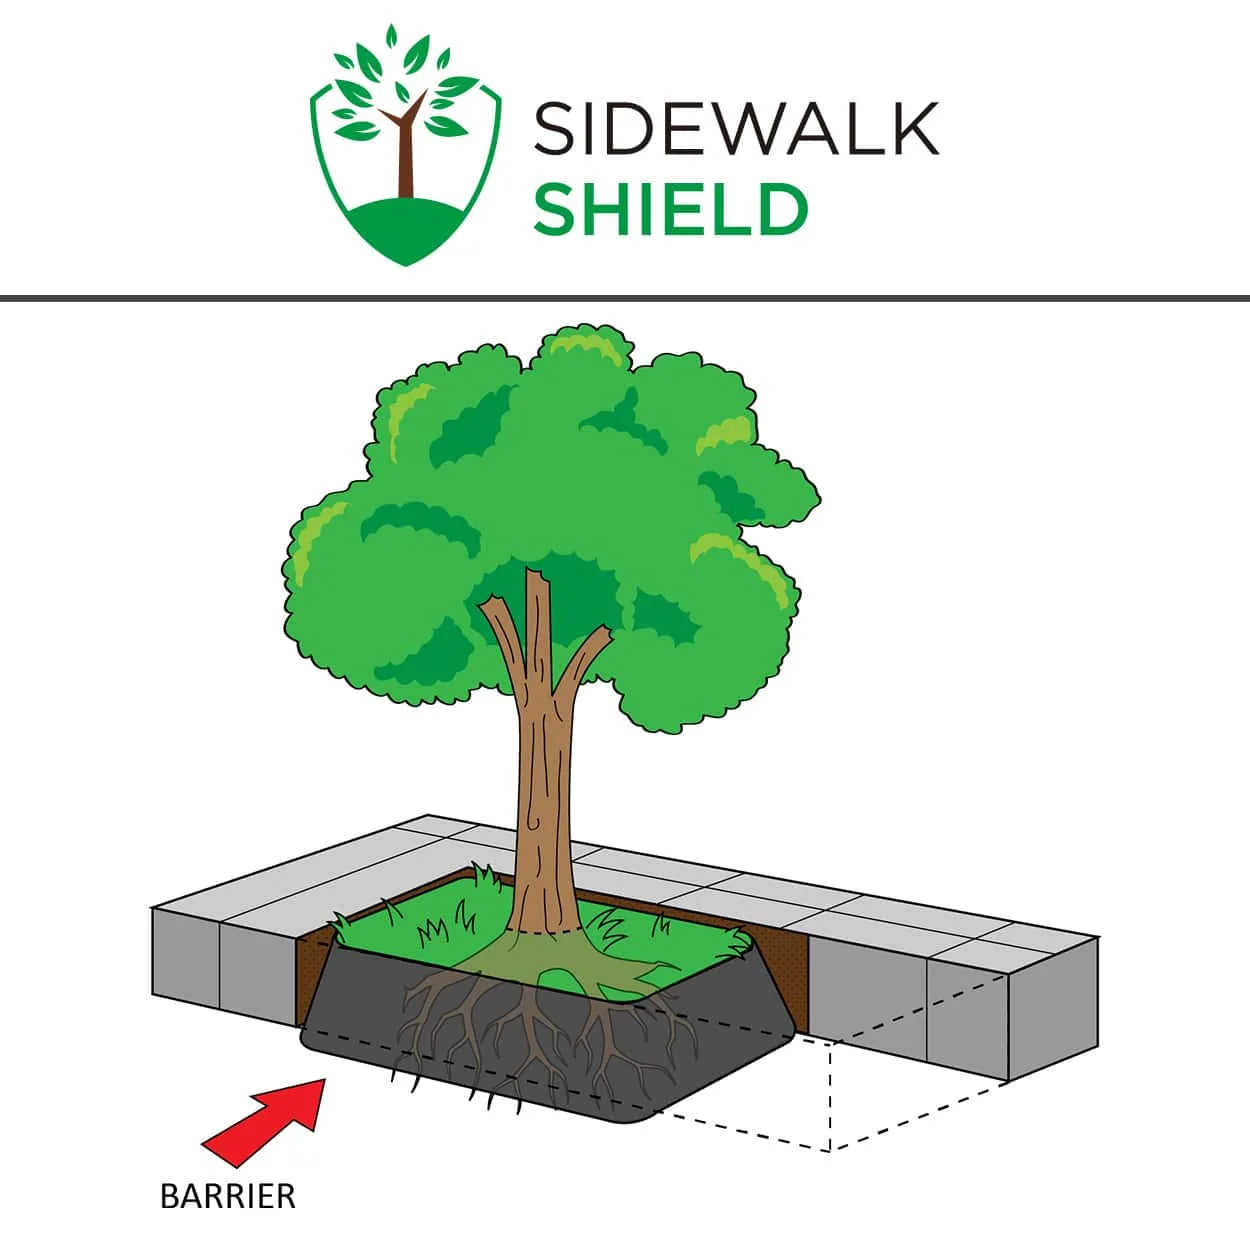
Call 811 before you dig. Then set Sidewalk Shield upright along the paving edge, with the top edge ½ to 1 in above finished grade. Make the run about the mature canopy width plus 2 ft long, centered on the trunk. Overlap each joint 12 in and clamp it, then backfill in 6 in lifts. If your project plan or city detail differs, follow the plan.
Before you dig
- Call 811 before you dig. Wait until buried utilities are marked.
- Find the mature canopy width: how wide the branches will spread when the tree is grown. The run is about that width plus 2 ft, centered on the trunk. If the city detail gives a length, use that.
- Next to an established tree, talk to an arborist first. Digging the trench cuts the roots along that line.
- Check your plan or spec for the depth and the layout. If your project plan or city detail differs from this manual, follow the plan. If you have no plan or spec, email hello@protechplastic.com for the depth before you order.
Tools and materials
Tools
- Spade or trencher
- Tape measure
- Level, or an angle finder for a 10° lean
- Hand tamper
- Drill and wrench for the connecting kit
Materials
- Sidewalk Shield in your depth, cut to your length
- One connecting kit per joint: two 1.5 in stainless straps plus hardware
What to order
Order Sidewalk Shield by the foot in 5 ft steps, with a 20 ft minimum, and one connecting kit for every joint. Use the depth your plan or spec calls for. With no plan or spec, email us at hello@protechplastic.com before you order.
Choose a depth
| Depth | Dig the trench | Longest piece | Order |
|---|---|---|---|
| 18 in, 80 mil Order 18 in | 17 to 17½ in | 175 ft | Order 18 in |
| 30 in, 80 mil Order 30 in | 29 to 29½ in | 100 ft | Order 30 in |
| 36 in, 100 mil Order 36 in | 35 to 35½ in | 70 ft | Order 36 in |
- Sold by
- The foot, in 5 ft steps
- Minimum order
- 20 ft
- Overlap per joint
- 12 in
- Connecting kits
- 1 per joint
Work out your length
- Work out the run in feet: about the mature canopy width plus 2 ft, centered on the trunk, or the length on your city detail.
- Add 1 ft (12 in of overlap) for each joint.
- Round up to the next 5 ft. If that is longer than the longest piece for your depth, order more than one piece and add 1 ft for each extra joint.
Example: a 38 ft run in one piece has no joints, so order 40 ft. A 90 ft run of the 36 in barrier needs two pieces, because the longest piece is 70 ft. That makes one joint: 90 + 1 = 91 ft, ordered as two cuts such as 50 ft and 45 ft, plus one 36 in connecting kit. The calculator on the product page splits a run into equal cuts, so it shows 2 × 50 ft = 100 ft; either works.
The “How much do I need?” calculator on the Sidewalk Shield page does this math for you.
Connecting kits
One per joint, matched to the barrier depth. Each kit has two 1.5 in stainless straps plus hardware.
Steps
-
Mark the line
Run it along the edge of the sidewalk, curb or driveway you want to protect. Make it about the mature canopy width plus 2 ft long, centered on the trunk, so it reaches about 1 ft past the mature drip line on each side. If the city detail gives a length, use that.
-
Dig the trench
Dig to the barrier depth minus ½ to 1 in: 17 to 17½ in for the 18 in barrier, 29 to 29½ in for 30 in and 35 to 35½ in for 36 in. Pick out rocks and sharp roots.
-
Set it along the paving edge
Stand the barrier up straight along the paving edge, with the top edge ½ to 1 in above finished grade. Where there is room, you can lean it about 10°, top edge toward the tree. If your plan or city detail differs, follow the plan.
-
Overlap and clamp each joint
Overlap the ends 12 in and clamp them with the stainless connecting kit, one kit per joint.
-
Backfill in 6 in lifts
Add 6 in of soil, firm it, then add the next 6 in. This keeps the barrier in place, with the top edge at the height you set.
Check your work
- The barrier runs along the paving edge, upright or at an even 10° lean with the top edge toward the tree, unless your plan shows a different layout.
- The top edge sits ½ to 1 in above finished grade all along the run.
- The run reaches about 1 ft past the mature drip line on each side of the trunk, or matches the length on your city detail.
- Every joint overlaps 12 in and is clamped with a connecting kit.
- The soil went back in 6 in lifts, it is firm, and the barrier did not shift.
Maintain
- Keep a sketch or photo of where the barrier runs, with measurements from the paving. Anyone who digs there later will need it.
- If the barrier is ever cut, treat the cut as a new joint: overlap the ends 12 in and clamp them with a connecting kit.
Questions
Does the barrier go in vertical or at an angle?
Vertical by default, along the paving edge, as typical city details show. Where there is room, you can lean a straight run about 10°, with the top edge toward the tree. A ring around a tree is always set vertical. If your project plan or city detail differs, follow the plan. Sidewalk Shield is designed to turn roots down and away from the paving.
How long should the run be?
About the mature canopy width plus 2 ft in total, centered on the trunk, so it reaches about 1 ft past the mature drip line on each side. A tree with a 30 ft mature canopy takes about 32 ft, so order 35 ft. If the city detail gives a length, use that.
How deep do I dig, and how much shows above grade?
Leave the top edge ½ to 1 in above finished grade, and dig to the barrier depth minus that: 17 to 17½ in for 18 in, 29 to 29½ in for 30 in and 35 to 35½ in for 36 in.
How close to the trunk can it go?
A straight run goes along the paving edge. A ring around a tree goes no closer to the trunk than half the distance from the trunk to the mature drip line. If the branches will reach 20 ft from the trunk, keep a ring at least 10 ft away. Set a ring vertical; the lean is for straight runs only.
Can I put it in next to an established tree?
Yes, but digging the trench cuts the roots along that line. Talk to an arborist before you trench beside an established tree.
Why backfill in 6 in lifts?
So the barrier stays in place, with the top edge at the height you set. Add 6 in of soil, firm it, and repeat until the trench is full.
Which depth do I need?
Use the depth your plan or spec calls for. With no plan or spec, email us at hello@protechplastic.com before you order.
Ready to order?
- Free shipping to the lower 48 states
- Orders before 2 pm Central on a business day usually ship that day
- 30-day returns
Sidewalk Shield by ProTech Plastic · protechplastic.com/products/sidewalk-shield · Reviewed October 2026